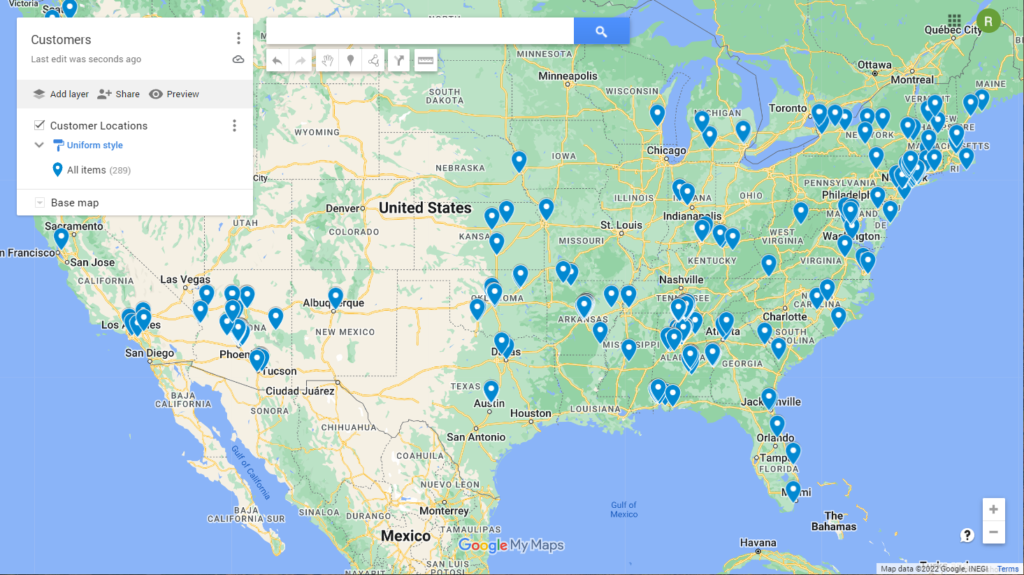
How To Create A Map With Several Locations

Creating a map with multiple locations can be a useful and visually appealing way to present data or guide people to different places. Whether you're planning a road trip, visualizing business locations, or creating a navigation tool, this comprehensive guide will walk you through the process of crafting a detailed and informative map with multiple locations.
Gathering Data and Choosing a Map Type

The first step in creating a map with multiple locations is to gather the necessary data. This includes the exact coordinates (latitude and longitude) or addresses of each location you wish to include. If you have a list of addresses, you can use online tools or APIs to convert them into coordinates, making them easier to plot on a map.
Next, consider the type of map you want to create. There are various map styles and themes available, each with its own purpose and visual appeal. Here are some common map types to consider:
- Basic Location Map: A simple map that displays pins or markers at each location, often with minimal design elements.
- Thematic Map: This type of map uses colors, patterns, or symbols to represent specific attributes or categories associated with each location. It's ideal for visualizing data trends or patterns.
- Heat Map: Heat maps use colors to represent the density of locations, making it easier to identify areas with high concentrations of points of interest.
- Interactive Map: Interactive maps allow users to explore and interact with the data, providing additional information or details about each location when clicked.
- Route Map: If your map involves a journey or a series of stops, a route map can visualize the path and provide directions.
The choice of map type depends on your specific needs and the story you want to tell with your data. For example, if you're creating a travel guide, a basic location map with colorful pins might be sufficient. On the other hand, if you're analyzing real estate data, a thematic map could highlight trends and patterns more effectively.
Selecting a Mapping Platform or Software

There are numerous online platforms and software tools available for creating maps. Some popular options include:
- Google My Maps: A user-friendly platform that allows you to create custom maps with pins, lines, and shapes. It's great for basic mapping needs and offers the advantage of being easily shareable.
- Mapbox: Mapbox provides a powerful mapping platform with customizable styles and advanced features. It's ideal for creating interactive maps with detailed data visualization.
- QGIS: A free and open-source GIS software that offers a wide range of tools for creating professional-grade maps. It's particularly useful for complex mapping projects and data analysis.
- ArcGIS: ArcGIS is a comprehensive mapping and spatial analytics platform. It offers advanced mapping capabilities and is often used by professionals in various industries.
Consider your skill level, the complexity of your project, and the specific features you need when choosing a mapping platform. Some tools may require more technical expertise, while others are designed for ease of use.
Adding Locations and Customizing Your Map
Once you’ve selected your mapping platform, it’s time to add your locations. Most platforms provide a straightforward interface for adding pins, markers, or shapes to represent your locations. You can usually import your data as a CSV file or manually enter the coordinates or addresses.
As you add locations, consider the following customization options to enhance the visual appeal and usability of your map:
- Pin or Marker Styles: Choose from a variety of pin or marker icons to represent your locations. You can select icons that align with the theme of your map or use custom icons for a more unique design.
- Color Coding: Assign colors to your pins or markers to categorize locations or highlight specific attributes. This can help users quickly identify patterns or groups.
- Labels and Pop-ups: Add labels or pop-up windows to display additional information about each location. This could include the name, address, or any relevant details you want to share.
- Layers: Utilize layers to organize and manage your map data. You can create separate layers for different types of locations or data, making it easier to turn them on or off as needed.
- Map Styles: Experiment with different map styles and themes to find the one that best suits your purpose. Some platforms offer pre-designed styles, while others allow you to customize colors, fonts, and other design elements.
Take the time to explore the features and tools provided by your chosen platform to create a map that accurately represents your data and engages your audience.
Integrating Additional Data and Features
To make your map even more informative and interactive, consider integrating additional data or features:
- Layering Data: Add multiple layers to your map to display different types of information. For example, you could overlay demographic data, transportation routes, or environmental factors to provide a richer context.
- Custom Icons: Create custom icons or symbols to represent specific locations or categories. This adds a unique touch to your map and makes it more visually appealing.
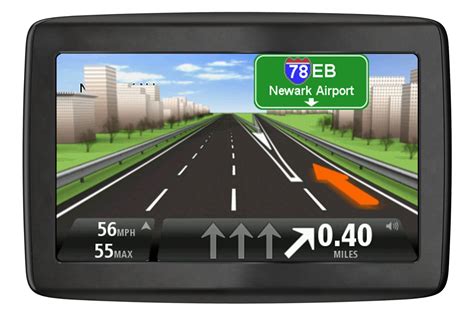
- Routing and Directions: If your map involves a journey, integrate routing features to provide turn-by-turn directions or estimated travel times.
- User Interaction: Allow users to interact with your map by adding features like search functionality, zoom controls, and the ability to toggle layers on and off.
- Data Visualization: Use charts, graphs, or other visual elements to represent statistical data related to your locations. This can help users understand patterns and relationships.
By incorporating these additional features, you can create a comprehensive and engaging map that provides valuable insights and enhances the user experience.
Finalizing and Sharing Your Map

Once you’ve added all the locations, customized the map to your liking, and integrated any additional data, it’s time to finalize and share your creation.
- Review and Refine: Take a step back and review your map for accuracy and visual appeal. Ensure that all the locations are correctly plotted and that the design elements work together harmoniously.
- Export and Save: Most mapping platforms offer various export options, allowing you to save your map as an image, PDF, or even as an interactive web-based map.
- Share with Others: Depending on your purpose, you can share your map via email, social media, or by embedding it on a website. Some platforms even provide shareable links or embed codes for easy integration.
- Collaborate: If you're working on a team project, consider utilizing collaboration features to allow others to contribute to and edit the map.
By following these steps and utilizing the tools and features available, you can create a professional and informative map with multiple locations. Whether it's for personal use, business purposes, or educational purposes, a well-designed map can effectively communicate complex information and guide people to their desired destinations.
FAQ
Can I create a map with locations from different sources, such as Excel and Google Sheets?
+Absolutely! Most mapping platforms support data import from various sources, including Excel, Google Sheets, and CSV files. You can easily bring in your location data and plot it on the map.
How can I ensure the accuracy of the coordinates or addresses I’m using for my locations?
+It’s essential to verify the accuracy of your data. Cross-reference your coordinates or addresses with reliable sources, such as Google Maps or GPS devices, to ensure they correspond to the correct physical locations.
Are there any limitations to the number of locations I can add to my map?
+The number of locations you can add depends on the mapping platform you choose. Some platforms have limitations on the number of pins or markers you can display, while others offer unlimited options. Choose a platform that suits your specific needs.


